 ONOSONIC app
Posted by ONOSONIC on 7th Nov 2026
Purple Toothpaste Before and After: How to Compare Photos Fairly
Purple Toothpaste Before and After: How to Compare Photos Fairly
A brighter-looking after photo can be appealing when you are deciding whether to try purple toothpaste. But were both pictures taken under the same conditions? A different lamp, camera setting or smile angle can make the comparison harder to interpret.
This checklist helps you assess photos before buying and keep a more useful personal record after use. It is practical photography guidance, not a validated clinical test or evidence of a particular whitening result.

Start with the product’s intended effect
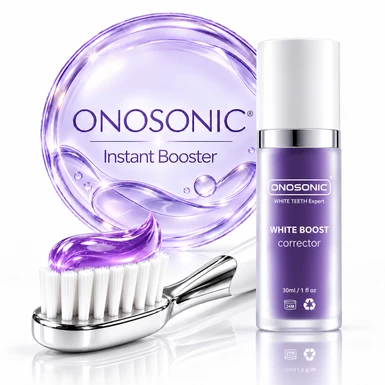
ONOSONIC Purple Toothpaste – Whitening Booster is described on its product page as a fluoride-free, colour-correcting booster in a pump format. Its stated cosmetic purpose is to reduce the visible appearance of yellow tones.
That gives you a focused question for a photo comparison: does your smile look different under similar conditions? A picture alone cannot establish stain removal, cavity protection or a clinically measured change in tooth shade. Nor can another person’s result predict the effect you will notice.
Why the photography setup matters
A pilot study of dental photography under different lighting found that the illumination affected shade assessment. Separately, clinical research on tooth dehydration and photography showed that drying can alter tooth colour; dehydrated teeth can appear whiter. Clinical photography also uses equipment and controls that an ordinary selfie lacks.
Neither study tested ONOSONIC Purple Toothpaste. The practical suggestions below apply those general lessons about comparison conditions, without turning a phone into a calibrated shade-measuring device.
Your before-and-after photo checklist
1. Repeat the camera and lighting setup
Use the same phone, lens, camera app and location. Keep the light source in the same position. Avoid comparing a warm bathroom light with a cool window-lit shot. If daylight changes between pictures, note that limitation rather than treating the difference as a product result.
2. Keep the framing consistent
Support the phone in a fixed position and keep a similar distance, head angle and relaxed smile. Show the same teeth in both pictures. Avoid moving closer, changing zoom or tilting your face towards the light only for the after shot.
3. Switch off cosmetic edits
Disable beauty filters and tooth-whitening effects. Where your camera permits, keep exposure and white balance unchanged, too. Avoid brightening just one image or selecting a different colour preset. Save the original files so you can compare them without social-media editing.
4. Do not deliberately dry your teeth
Do not wipe your teeth dry or hold your mouth open for a prolonged time to prepare a photograph. Take a brief, natural smile in both pictures. If one image followed a long photo session with your mouth open, treat the pair cautiously.
5. Finish the labelled use before the after photo
Follow the current packaging for the amount, application time and any rinsing step. Photograph after completing those instructions, rather than while purple product or foam is still visibly coating your teeth. Do not use extra product, brush harder or extend application to pursue a stronger-looking image.
6. Record when each picture was taken
Label the before photo and note the time elapsed after completing use for the second image. If you take a later photo, record that time and whether you ate, drank or brushed in between. A single after image cannot tell you how long an appearance change lasts, and this checklist promises no duration.
How to read the result without overclaiming
View the original images side by side on the same screen at the same brightness. First compare the background and skin: if the whole scene looks brighter or cooler, a changed setup may be contributing. Then look at the same teeth rather than the brightest reflection.
For a customer review, useful context includes the exact product, unedited pictures, comparable lighting and elapsed time. If those details are missing, the image offers limited evidence. If you see little or no difference in your own pair, record that honestly instead of editing or repeating applications beyond the directions.
Choose with realistic expectations
Keep your usual fluoride routine: the NHS recommends brushing twice daily with fluoride toothpaste and spitting without rinsing immediately afterwards. Follow the booster’s separate directions. For persistent discolouration or questions about crowns and other restorations, seek dental advice; NHS whitening guidance explains the limits of whitening artificial teeth.
Considering a colour-correcting addition? Review ONOSONIC Purple Toothpaste’s current details and directions, then use this checklist to judge appearance fairly.
Images are illustrative ONOSONIC catalogue artwork, not measured outcomes or an application guide. Independent sources explain general dental and photography principles; they do not endorse this product. General information for adults, not personal dental advice.